Table of Contents
Efficient glazing seals windows from weather elements by sealing the area between a wooden frame and a glass window.
However, glazing can wear out over time. In case your home is old, it may be necessary to hire a glazier in Sydney to reglaze the windows. Here’s how to go about it.

In older homes, you won’t lack one or more windows that require reglazing. There are two main situations that may force you to reglaze. These situations are deterioration and broken glass.
Glazing refers to putty used in sealing the area between the glass pane and the window frame. However, hardened putty may crack or fall off over time.
This will leave the affected window prone to the damaging effects of rainwater such as rotting on wood. Although reglazing windows isn’t very challenging, you’ll need to know how to go about it and some free time.
Step 1: Examining the Situation
The first step will involve examining the exterior area of the windows to assess their condition. In case there are some minor hairline cracks on the putty, then it can serve its purpose for more time.
However, examine it regularly to check whether it’s getting worse. In case some glazing is missing or the blade of a knife fits in any putty crack, then you should reglaze the window.
Step 2: Removing the Old/Worn-out Glazing
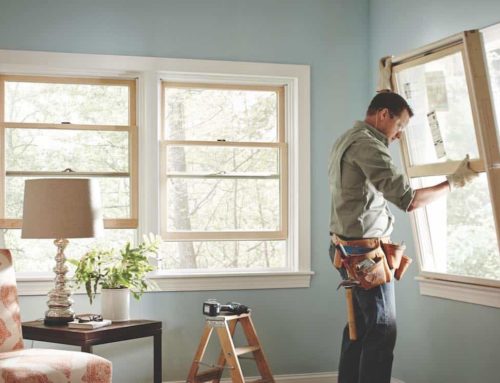
You’ll start with removing the operable section of your window. This is the part that slides upwards or downwards. It’s known as the sash. You can remove it by first removing the thin, tall wood pieces known as stops.
They’re usually found on the inner part of a window. Stops are installed on either side of the window opening. In some windows, the stops come with screws that hold them in place.
In case they are painted, you can take a sharp razor knife and scrape the paint around them to make it easier to detach them.
Since you’ll be dealing with an older window, you need to ensure that you take the necessary precautionary measures regarding lead paint due to the health concerns involved.
Step 3: Removing the Older Glazing
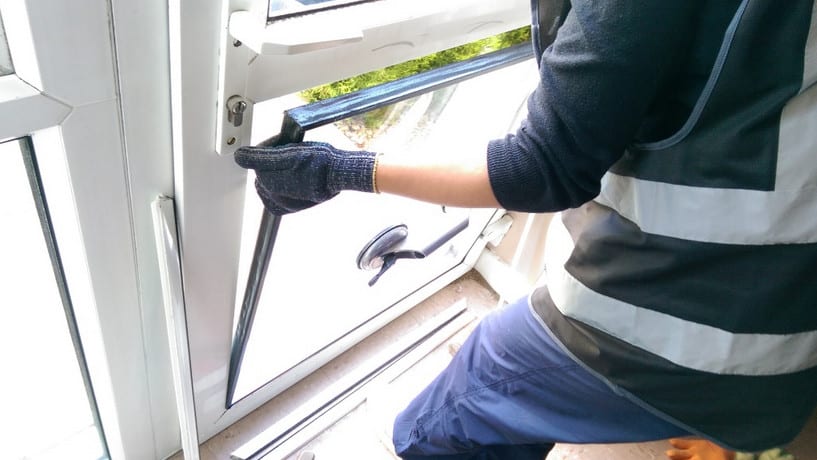
Upon removing the sash, you can go ahead and remove the damaged or old glazing. First, chip off any loose glazing using a sturdy scraper or razor knife. The remaining glazing may be stuck well on the glass and wood.
You’ll need to take it off carefully to avoid breaking the glass pane or causing any damage to the wooden frame. You should rather get an appropriate heat gun to soften the glazing and make it fall off easily.
Avoid heating it excessively since heat may damage the painted area around the frame. If you make a mistake of damaging the paint, you’ll have to scrape and repaint the window.
No matter the removal method you’re using, you’ll have to be very careful with glazier points. They’re small metallic clips that typically hold the glass pane in place.
You’ll find them buried within the putty around the central point of each side. In case you need to replace broken glass, you’ll need to remove the glazier points using pliers upon uncovering them.
Step 4: Examining the Window Frame
Upon removing the glazing, examine the wooden frame to assess whether it requires some repair. Any work involving patching needs to be done using appropriate wood epoxy. You can shape and sand it to match with the existing wood.
Once you have patched the frame, you might think about priming the uncovered, bare wood. There’s an unending debate about whether it’s alright to prime or not. Old-timers argue that you shouldn’t prime the wood.
They argue that such a pristine state of uncovered wood is an indicator that the oil in glazing putty offered an effective protective shield. Thus, it’s not necessary to prime the wood.

Step 5: Replacing the Glass
In case you’ll need to replace broken glass, start with taking measurements of the existing window frame. Subtract an eighth inch from each measurement.
This is to allow for a perfect fit, which is not either too tight or too loose. Leaving an eighth inch spacing on each measurement will allow for the glazier points to stick in place firmly.
You can have a new glass pane cut by a local glass hardware store. To fix it in place, start with laying a thin lining on glazing putty on the frame.
Then place the glass pane onto the putty and frame. Once done, secure the pane in place using new glazier points. Use a sturdy putty knife to press the points in place.
Step 6: Reglazing (Part One)
You can now apply new putty. In case you’re only working with one or just two small glass panes, you’ll only need a ½ pint can of putty. You can find it from your local hardware store. It’s very affordable, so have no worries.
You can also get larger cans of putty in case you’ll be glazing more windows. Before you start glazing, ensure the putty is at the current room temperature. If not, you can heat the can a little bit by dipping it inside a bowl with hot water.
Then make a small ball of putty (golf size) in your palms. Do it for a few minutes until the ball has consistency. Once the putty ball is pliable, make a roll out of it just like you do when making breadstick. Then apply the roll along one edge. Repeat until you cover all the edges of the pane.
Step 7: Reglazing (Part Two)
You’ll need to continue with the reglazing process after applying putty. In this step, you’ll need to press the putty into the frame and glass, and then smoothen it.
Use a strong putty knife to press and push the glazing against the pane and wood. Do this around the entire window while removing any excess glazing.
The goal is ensuring that the interior edge of putty is in line and firm against the wooden mullion at the opposite side.
Next, run your putty knife along the putty. Run the knife at a slanting ago to smoothen the putty and cut away any excess putty. You can get a clean final look by running the knife in just one pass for every side.
Then remove excess putty by scooping it carefully with the putty knife while pushing it away from the edges. This way, you’ll get a great finish since there’s no repetitive smoothening that may ruin the finish.

Step 8: Painting
You’ll have to wait for several days, maybe a week, for the glazing to cure completely. You can also fix the window back to its opening, in case you had removed it while starting this process.
Just leave any oily fingerprints it may get for the time being. You’ll clean the window once putty has cured and hardened. When painting the glazing putty, only use an oil-based coating of primer. Ensure the primer is of high-quality.
You can lap the paint on the glass pane at least 1/16 inch. In case you fail to do this, the glazing may fail sooner than it should.


