Table of Contents
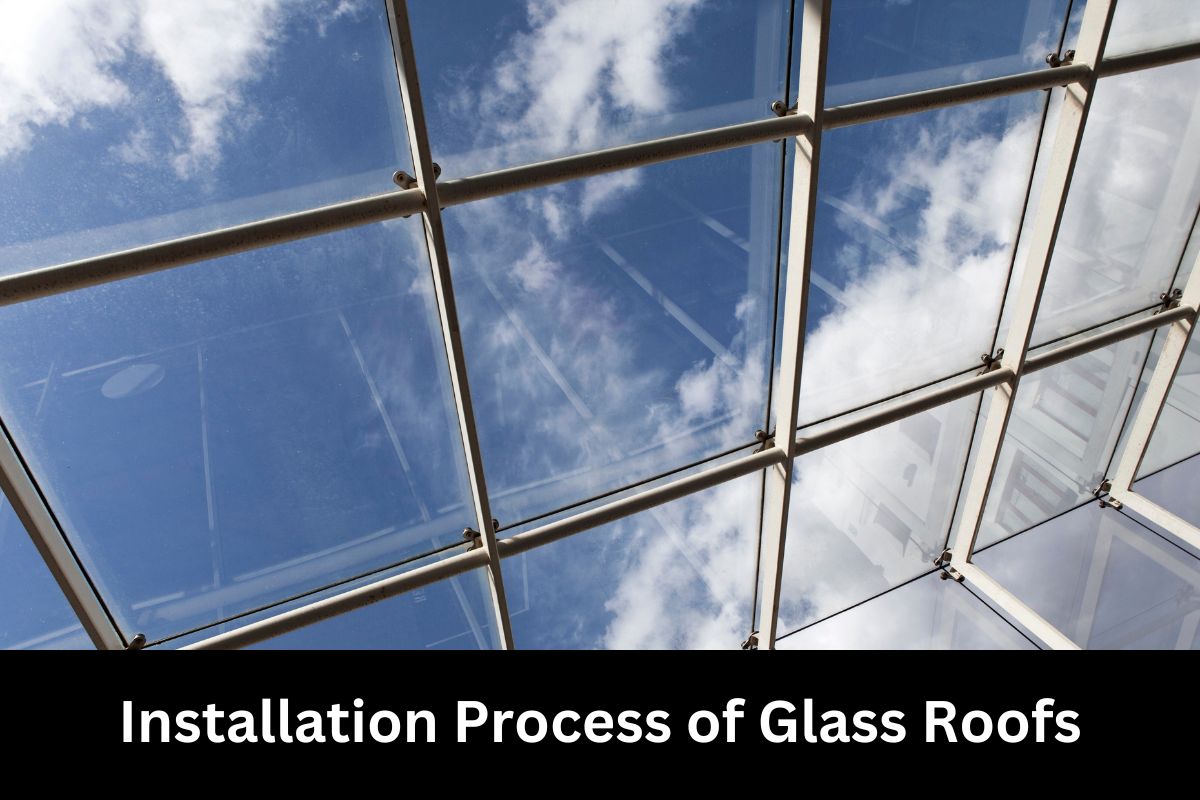
Imagine standing beneath a crystal-clear canopy, where sunlight streams in, bathing the space in natural warmth and beauty. A glass roof installation can transform any area, creating an ethereal and open atmosphere that connects you with the outdoors while providing shelter and protection.
In this article, we will guide you through the meticulous process of installing glass roofs, ensuring both the aesthetic appeal and structural integrity of your space.
Before embarking on this journey, it is essential to assess your space and goals. Consider the size and shape of your area, as well as the purpose of the glass roof.
Next, we will delve into the crucial step of selecting the right materials. From tempered glass panels to laminated options, we will explore the various options available to suit your specific needs.
Preparation is key, and we will walk you through the necessary steps of preparing the installation site. From ensuring a solid foundation to evaluating structural requirements, we will leave no stone unturned.
Then, we will guide you through the installation process, providing detailed instructions and tips to ensure a successful and safe outcome.
Finally, we will discuss the finishing touches and maintenance required to keep your glass roof looking pristine for years to come.
So, fasten your seatbelts, put on your safety glasses, and let’s embark on this exciting journey of installing your glass roof.

Key Takeaways
- Assess the structural integrity of the existing roof before installing a glass roof.
- Consider the orientation of the space and the amount of sunlight received when selecting the type of glass.
- Choose materials like tempered glass or laminated glass for durability and safety.
- Properly seal and weatherproof edges and joints of glass panels to prevent water leakage and improve insulation.
Assessing Your Space and Goals
Before diving into the installation process of glass roofs, let’s take a moment to assess your space and goals.
It is crucial to evaluate your space to determine if it’s suitable for a glass roof installation. Start by examining the structural integrity of your existing roof. Ensure that it can support the weight of the glass panels and any additional framework required.
Additionally, consider the orientation of your space and the amount of sunlight it receives throughout the day. This will help you determine the appropriate type of glass to use, as well as any additional shading or insulation measures that may be necessary.
Next, define your goals for the glass roof installation. Are you looking to maximize natural light or create a space that seamlessly connects the indoors and outdoors? Are you prioritizing energy efficiency or aesthetic appeal? Understanding your goals will guide you in selecting the right materials and design options for your glass roof.
As you move forward in the installation process, the next step is selecting the right materials that align with your space and goals.
Selecting the Right Materials
When selecting materials for your glass roof, have you considered the durability and transparency of the options available? It’s crucial to choose materials that provide both strength and visibility to ensure the safety and satisfaction of your installation.
Here are four important factors to consider:
- Tempered glass: This type of glass is highly durable and can withstand extreme weather conditions, making it an excellent choice for your glass roof.
- Laminated glass: Known for its exceptional strength and safety features, laminated glass consists of multiple layers that are bonded together, preventing it from shattering into dangerous shards.
- UV protection: Make sure the materials you select offer effective UV protection, shielding you and your space from harmful rays.
- Insulation properties: Opt for materials that provide excellent insulation, maintaining a comfortable temperature inside your space throughout the year.
By carefully considering these factors, you can choose the materials that best meet your safety requirements and desired aesthetics. Once you’ve selected the right materials, you can move on to the next step of preparing the installation site.
Preparing the Installation Site
To ensure a successful installation, make sure you’ve properly prepared the site for your new glass roof. Begin by clearing the area of any debris, including rocks, branches, and other objects that could potentially interfere with the installation process.
Next, check the surface where the glass roof will be installed to ensure it’s level and free of any cracks or structural issues. It’s essential to have a stable and solid foundation to support the weight of the glass panels.
Once the site is clear and the surface is in good condition, it’s crucial to measure and mark the exact dimensions where the glass roof will be placed. Accurate measurements are essential to ensure a precise fit and minimize any gaps or unevenness. Use a measuring tape and level to ensure accuracy.
Additionally, consider the weather conditions when preparing the installation site. Avoid installing the glass roof during extreme temperatures, high winds, or rain, as these conditions can make the process more challenging and compromise safety.
By properly preparing the installation site, you’re setting yourself up for a smooth and successful installation of your new glass roof. Now, let’s move on to the next section and discuss the process of installing the glass roof.
Installing the Glass Roof
When installing a glass roof, it’s crucial to follow the manufacturer’s instructions for assembling the framing. This will ensure that the structure is sturdy and able to support the weight of the glass panels.
Once the framing is in place, you need to carefully position and secure the glass panels, taking care to align them properly for a seamless appearance.
Finally, it’s important to seal and weatherproof the edges and joints to prevent any water leakage or damage.
Follow manufacturer instructions for assembling the framing
During the installation process of glass roofs, it’s crucial to follow the manufacturer’s instructions for assembling the framing, just like following a recipe to bake a delicious cake.
To ensure a safe and secure installation, here are five important steps to consider:
- Begin by laying out all the framing components according to the instructions.
- Use the provided hardware to attach the framing pieces together securely.
- Double-check that all connections are tight and properly aligned.
- Utilize a level to ensure the framing is perfectly straight and level.
- Follow any specific instructions regarding the installation of additional support beams or brackets.
By meticulously following these steps, you guarantee a sturdy framework for your glass roof.
Once the framing is assembled, it’s time to carefully position and secure the glass panels, ensuring a watertight seal and optimal safety for your structure.
Carefully position and secure the glass panels
Carefully position and secure the glass panels to create a breathtaking and secure structure for your space. Begin by ensuring that the panels are the correct size and fit snugly into the framing. Using caution, carefully lift each panel into place, ensuring that it aligns perfectly with the adjacent panels. Use clamps or suction cups to hold the panels in position temporarily while you secure them properly.
Depending on the specific instructions provided by the manufacturer, you may need to use screws, brackets, or other hardware to secure the panels firmly in place. Take your time to ensure that each panel is level and properly aligned before moving on to the next step. By following these careful steps, you’ll create a stunning glass roof that’ll provide both beauty and safety to your space.
Now, let’s move on to seal and weatherproof the edges and joints for added protection.
Seal and weatherproof the edges and joints
To ensure the long-lasting durability and safety of your glass roof, it is crucial to properly seal and weatherproof the edges and joints of the glass panels. This step prevents any water infiltration, air leaks, or potential damage caused by external elements. Begin by cleaning the edges and joints thoroughly, removing any debris or dirt that may hinder the sealing process. Next, apply a high-quality weatherproof sealant specifically designed for glass roofs, ensuring complete coverage along the edges and joints. This will create a watertight barrier that protects against leaks and improves insulation. To emphasize the importance of this step, consider the following table:
| Benefit of Proper Sealing and Weatherproofing |
|---|
| 1. Prevents water infiltration and potential damage |
| 2. Enhances insulation, reducing energy consumption |
| 3. Protects against air leaks, improving indoor comfort |
| 4. Increases the lifespan of the glass panels and overall structure |
| 5. Provides peace of mind by ensuring a safe and secure glass roof installation |
With the edges and joints adequately sealed, it is now time to move on to the next crucial step: applying the finishing touches and performing regular maintenance.
Finishing Touches and Maintenance
Make sure you give your glass roof the love and attention it deserves, so it can shine like a diamond in the sky. After sealing and weatherproofing the edges and joints of your glass roof, it’s time to focus on the finishing touches and maintenance to ensure its longevity and safety.
To maintain the pristine condition of your glass roof, regular cleaning is essential. Start by removing any debris, such as leaves or branches, using a soft brush or broom. Then, mix a mild soap solution with warm water and apply it to the glass surface using a non-abrasive sponge or cloth. Gently scrub the glass in a circular motion to remove dirt and stains. Rinse thoroughly with clean water and dry with a soft, lint-free cloth to prevent water spots.
In addition to regular cleaning, it’s important to inspect your glass roof periodically for any signs of damage or wear. Check for cracks, chips, or loose fittings, as these can compromise the structural integrity of the roof. If you notice any issues, it’s best to consult a professional for repairs or replacements.
Remember, safety should always be a priority when maintaining your glass roof. Take necessary precautions, such as using a sturdy ladder and proper safety equipment, when accessing the roof for cleaning or inspection. By following these maintenance guidelines, you can ensure that your glass roof remains a beautiful and safe addition to your home.
Frequently Asked Questions on Installation Process of Glass Roofs
How long does it take to install a glass roof?
It typically takes around 7-10 days to install a glass roof. This allows for proper planning, preparation, and execution of the installation process to ensure a safe and secure outcome.
Can I install a glass roof on my own, or do I need to hire professionals?
Installing a glass roof on your own would be like attempting brain surgery without any medical training. It’s a highly complex process that requires professional expertise to ensure safety, proper installation, and avoid costly mistakes.
Are there any specific safety precautions I need to take during the installation process?
During the installation process of glass roofs, it is crucial to prioritize safety. Some specific precautions you need to take include wearing protective gear, ensuring proper ladder placement, and having a team of professionals assist you to minimize the risk of accidents.
What kind of maintenance is required for a glass roof?
To maintain a glass roof, regularly inspect for cracks or damage, clean with a mild soap and water solution, and remove any debris. Treat it like a delicate flower, ensuring it stays pristine and free from harm.
Can a glass roof be installed on any type of building or structure?
Yes, a glass roof can be installed on any type of building or structure as long as it meets the necessary structural requirements and considerations for safety, such as load-bearing capacity and weather resistance.
Conclusion
In conclusion, now that you’ve reached the end of this article, you’re well-equipped with the knowledge and expertise to embark on the installation process of glass roofs.
By carefully assessing your space and goals, selecting the right materials, and preparing the installation site, you can create a stunning and functional addition to your space.
Follow the step-by-step instructions for installing the glass roof and ensure each step is executed with precision. Remember, Rome wasn’t built in a day, so take your time.
With proper maintenance, your glass roof will provide you with years of enjoyment and a breathtaking view that’ll make your neighbors green with envy.
So go ahead, let your creativity soar and transform your space into a magnificent oasis with a glass roof.
Related Articles


