Table of Contents
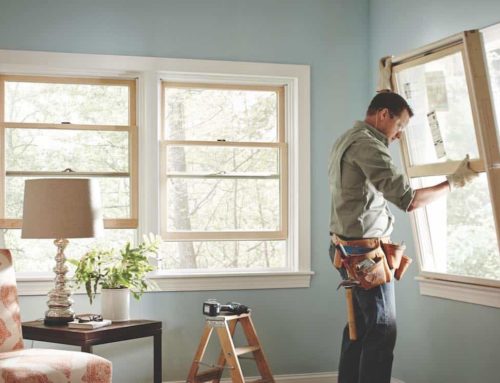
In case your glass windows are rattling when opening or closing them, it’s a sign that they’re leaking. You should check them closely from the outside. Don’t be surprised if you happen to see missing or cracked glazing putty.
In case your windows are single-paned windows, then you should replace putty. Weather proofing windows is a cost effective way of saving energy and enjoying reduced utility bills.
Replacing putty will require you to gather tools such as:
- Putty knife
- Utility knife
- Scraper or strong razor blade
- Caulk gun
- Screw or lengthy nail
- Glazing putty
- Heat gun
- Primer
- Paint
- Paint brush
- Sand paper
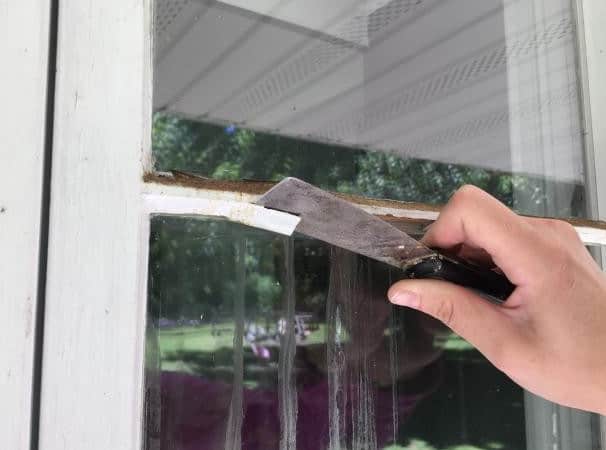
Being prepared for the task ahead will allow for better results. Start with removing crumbling and loose putty. Slip the blade of a utility knife deep into the putty cracks and try to pry the putty out.
Use a strong scraper or razor blade to scrape the pane clean to remove any dirt, leftover putty and paint. You can use a vacuum cleaner to remove remaining dirt, dust and tiny pieces of putty that may be stuck between the sash window and glass pane.
Since putty in older window units is generally in a terrible state, you may have to repaint the window. Scrape any peeling or loose paint.
In case the paint is severely cracked or peeling, then you can strip it off. In case some putty is hard to remove, heat it using the heat gun.
Avoid heating up glass panes since they may crack. You can use a metal sheet along the window sash while heating and stripping to avoid heating the glass.
Next, ensure the glass is properly secured. New glazing points would be easier to work with than the older types that may be installed on your windows.
You’ll need to press the pane into the window sash and place the glazier point on the glass. Then push it with the putty knife into the window frame. Use as many glazier points as possible to further secure the glass in place.
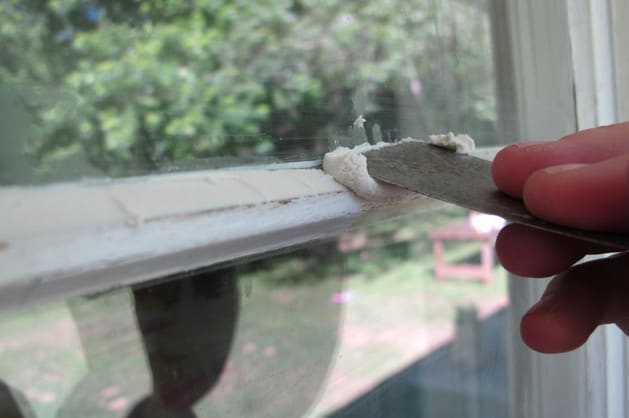
Load some putty into the caulk gun. Then puncture the sealing using a nail or screw severally. Glazing putty typically comes in a tube that has angled tips.
This will assist in delivering a bead with the correct shape and size. Apply a bead of putty where you removed it. Although it might be messy at first, it’ll look better after some practice.
Ensure the opening of the putty tube is clean at all times for a smooth finishing. However, in case you don’t get better results, you can clean it after settling up.
Once you’ve allowed the putty to set up, you’ll take a razor blade and putty knife to remove excess putty that may have found its way onto the sash, muntins and glass.
You can leave putty unpainted. However, since you might have to repaint the windows, then you may also have to paint the glazing putty.
First, sand the wooden frame, prime it and then start painting the windows. Once done, your window units will have a better look and perform great.
If you need the help, please contact our professional glaziers at Majestic Glass. We’ll be happy to help.